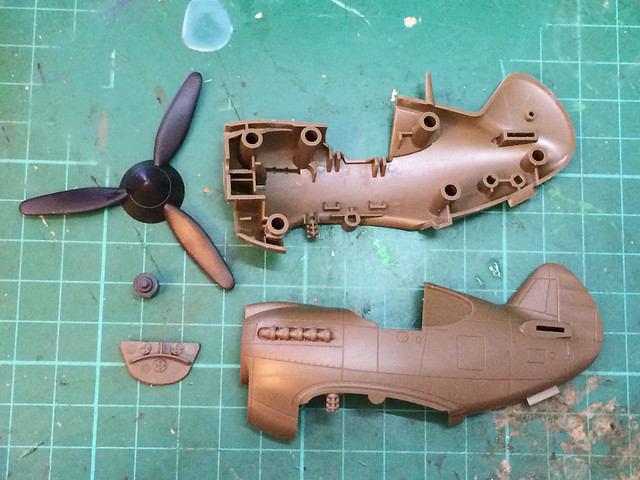
In truth, there are not many parts to this kit, but even so they are well designed and crisply moulded. The instruction leaflet is nicely printed and very clear and concise (I wish some 'proper' scale model manufacturers took so much care over their instructions)...
Before I look at the first of the components, however, it's worth taking a quick look at the decals as I failed to illustrate the options in my introductory post on this model. Now, when I saw 'options' I don't mean there are alternative decal schemes - there is only one, which is the famous AVG 'Flying Tigers' scheme - but there are two different types of transfers!
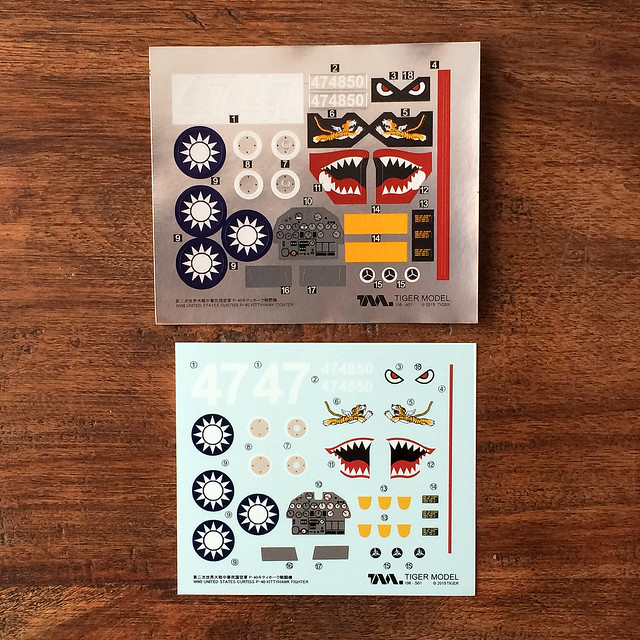
As you can see, the top set of 'decals' are actually stickers, which is a great option for the young modeller (how I wish more manufacturers would consider this option). The bottom decals are traditional water-slide transfers.
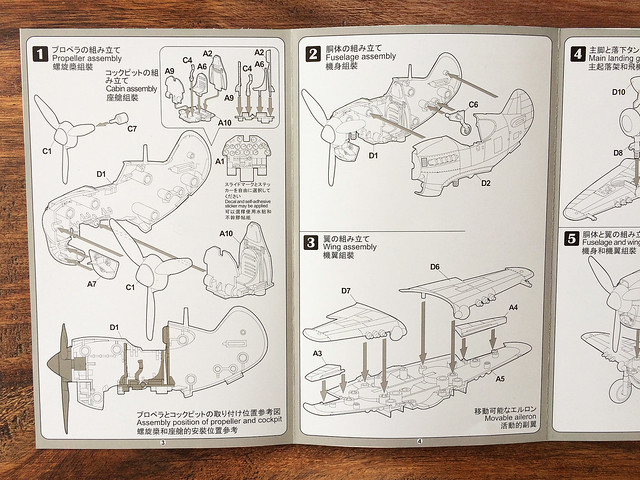
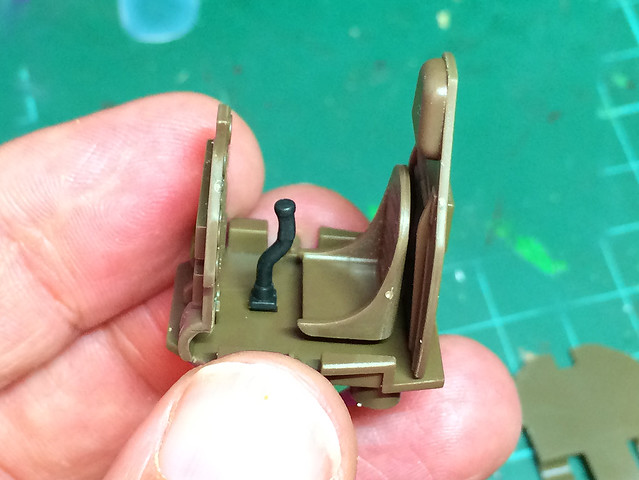
Assembly Panel 1 - The fuselage interior
The first step is actually two step really, the assembly of the cockpit and then the joining of the two halves of the P-40's fuselage.
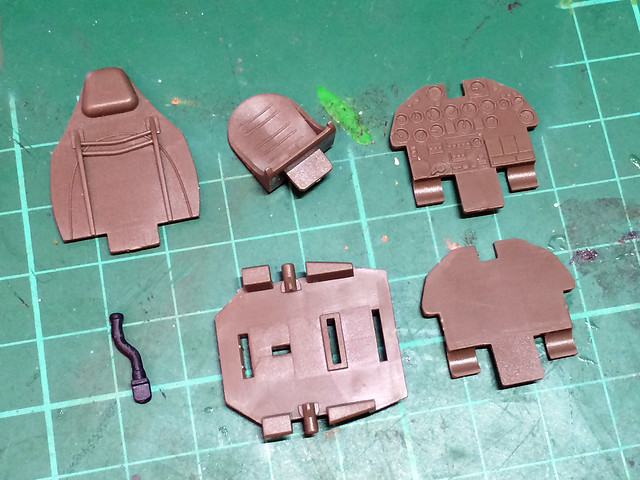
Straight away we have three different options for detailing the aircraft's instrument panel - Tiger have included a blank flat panel onto which you can add either the instrument panel sticker or water-slide decal OR they have also included a moulded panel with raised detail 'instruments' which you can paint!
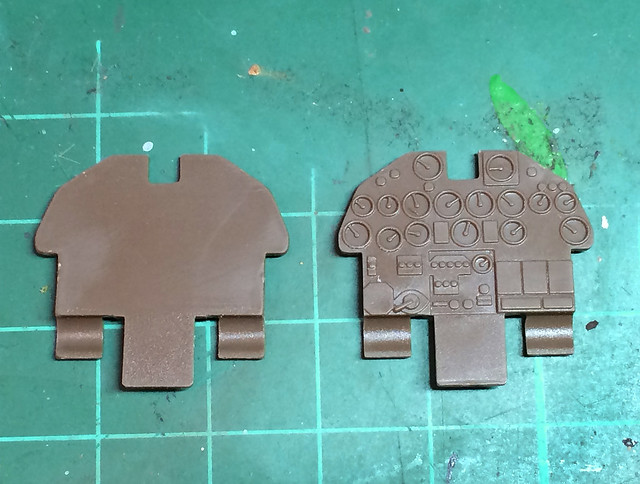
I'm not sure, yet, as to which of these options to go for. But it is very nice to have these options, at least. The rest of the cockpit isn't very detailed and - sadly - there isn't a little cartoon pilot to go with the kit...
I checked all the components and tried out a 'dry fit' and everything went together OK. The fuselage and propeller finish off this section of the assembly...
Priming before final assembly...
Before I go any further, I have to put a bit of thought to how I will paint the interior. Obviously, I will begin by priming the inside and this time I think I will start with a white priming coat as I fancy trying our some pre-shading.
I have to decide on how I'm doing the instrument panel, but the interior painting is pretty simple - even though I may be changing the exterior scheme to an RAF one instead of the American one. But I'll leave that til the next time.
No comments:
Post a Comment