Making a Canvas Tarpaulin
As mentioned in the previous post, I am going to make my actual canvas material using tissue soaked in PVA. However, to give this material a shape which looks like canvas draped over a frame - with all it's natural folds and wrinkles - I will be adding some texture to my 'frame' so that the wet tissue conforms to a tilt cover texture and shape.
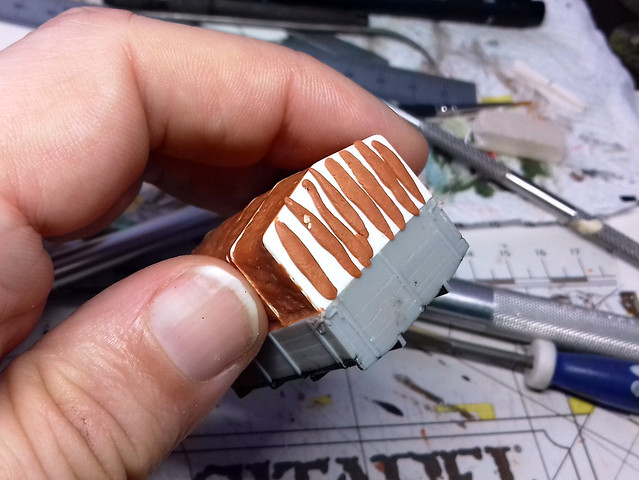
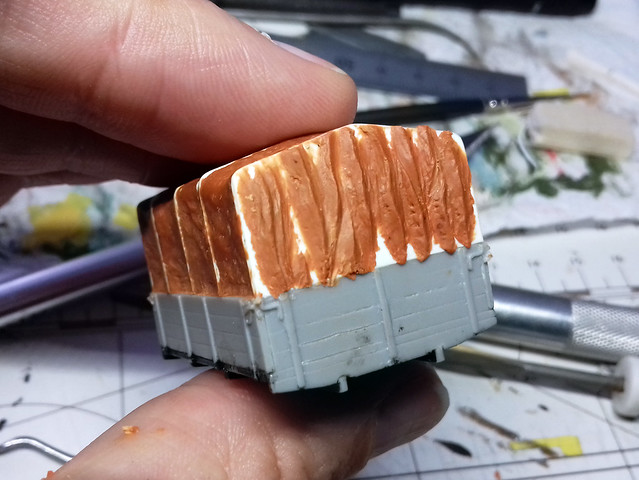
Here, I begin to add some underlaying 'fold' shapes to my framework using pieces of Milliput...
I then form these putty worms into - hopefully - waves...
Let's get sticky!
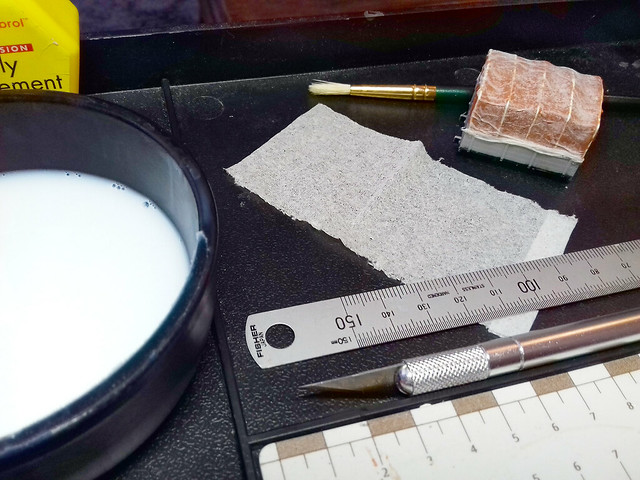
Never having done this before, I am playing this by ear! The premise is simple, soak some tissue paper - in this case a piece of Kleenex tissue - in watered down PVA glue and then wrap it over the frame I have made...Let the fun begin!
My first attempt was to dunk the tissue into the pot of glue and then try to lay it over my frame...WRONG! This was a complete disaster, as the soaked tissue started was a nightmare to handle and ended up becoming a soggy ball of mush...
So, second attempt, I laid a pre cut rectangle of tissue onto my frame and then dabbed on some of my PVA mix with a brush...Better. BUT, wet tissue stretches and I ended up with a larger 'canvas' than I needed AND wet tissue is a pig to trim, no matter how sharp your craft knife is...
Third attempt: So, what you do is carefully measure and cut your tissue to roughly the size and shape you want, taking into consideration the additional couple of millimetres that the material will stretch, then lay it on your frame, then apply the diluted PVA.
You can move the wet tissue around a bit to create little folds and wrinkles, and when you are happy with how it looks leave it to dry...
The wet tissue clings to the textured frame and so you benefit from any shapes you made with your Milliput. The tissue dries fairly solid so you don't have to worry about damaging it when handelling.
You can maybe just make out that you also get a nice texture from the paper itself, further adding to the look of canvas...Though, obviously, this will all look better when painted.
Getting the hang of it now...
By the time I applied the top and front canvas pieces and got to the rear 'flap' I began to get a feel for working with this stuff...
The trick is to wet the frame a little and then lay your tissue piece in place (the little wetness holds the tissue in place but you can still move it around to position it correctly). Then, when you are happy with the position you can then brush on extra diluted PVA over the tissue and start wrinkling it up a bit with the tip of your brush.
I suppose it's a bit like mini-wallpapering, but you are trying NOT to be neat! (Which is handy as I am rubbish at wallpapering.)
Another 'trick' I discovered is that you can add further pieces of tissue on top of tissue you have already laid if you want extra folds. This is how I made the rear flap.
Next: Well, I'll leave this to dry thoroughly now, then I'll prime it. Be interesting to see how 'realistic' the folds look with a bit of paint on them!


Try using wet wipe i.e the wipes one uses to clean baby bottoms. Pull one out let it dry and then use it instead of tissue.
ReplyDelete