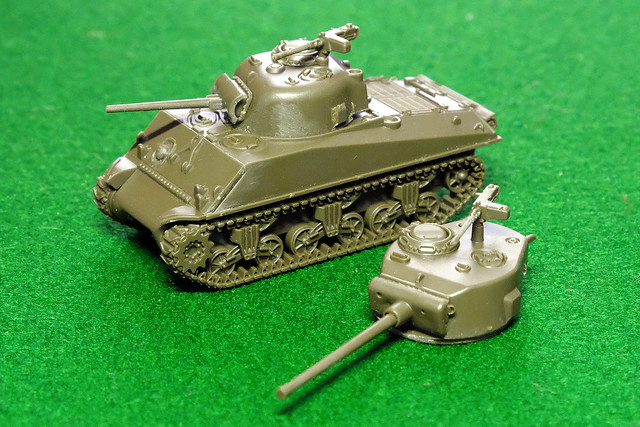
Time to slap some paint on the little M4A3 Sherman models I got in the GF9 TANKS starter set. I'm not going to town with these, I pretty much want a generic vanilla US Army Sherman without all the bells and whistles (so no applique armour or hodge-podge of stowage).
This should be as simple and easy a modelling project as it gets and takes me right back to when I started modelling again as my first kit was a very unsophisticated 1/72 Armourfast M4A3...
It will be interesting to see how the little 15mm Shermans compare to the above attempt as - for simplicity of detail - both makes of model have a lot in common and are designed to do the same job, just in different scales.
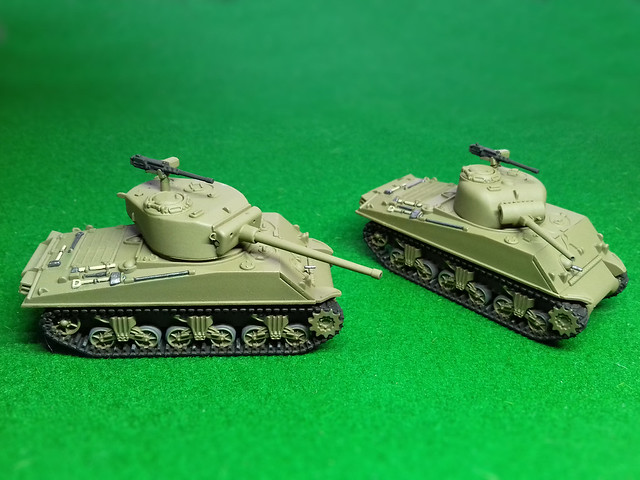
I primed my GF9 M4s (make by Battlefront, I believe) with Humbol Olive Drab acrylic spray - as I no longer have an airbrush, so it's back to basics. This is a lovely warm, slightly yellow tone, US OD, and as usual, the Humbrol paint goes on nice and smooth despite coming out a rattle can...

I chose to prime these models in their main sub-assembly groups, rather than a complete model. This is mainly so I can get at all the fiddly nooks and crannies in the track components. I masked off parts of the components that I knew I would later want to glue together with poly glue.
After priming I started to pick out all the black base coat areas and bits that I wanted an underlying coat of black (like the tools). I'm trying out a black base for the tracks, as Sherman's tracks are characterised by large black rubber pads over the steel links. We'll see how that goes (they will be finished off with a coat of mud anyway.)
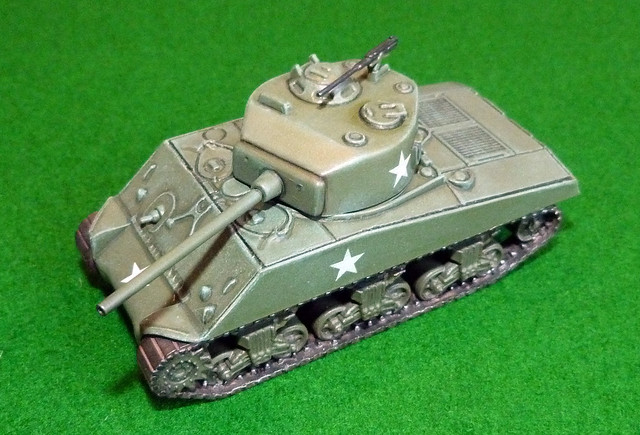
Once everything is base painted it's time for a quick coat of gloss and then the addition of the decals. The GF9 TANKS starter set does not include any decals, which is a wee bit annoying but I guess they are aiming the game at people who are maybe not so interested in modelling as gaming?
Luckily, I had plenty of spare US Army stars in my scraps box, the only downside is the set I have has no 'US ARMY' & vehicle registration number decals for the side (towards the rear). However, I had it in mind that I wanted these Shermans to be pretty generic/anonymous so I could use them as a basis for any Western Allied force I build (US Army, US Marines, French, Polish, British Commonwealth), so not having the 'US ARMY' lettering is a good thing...
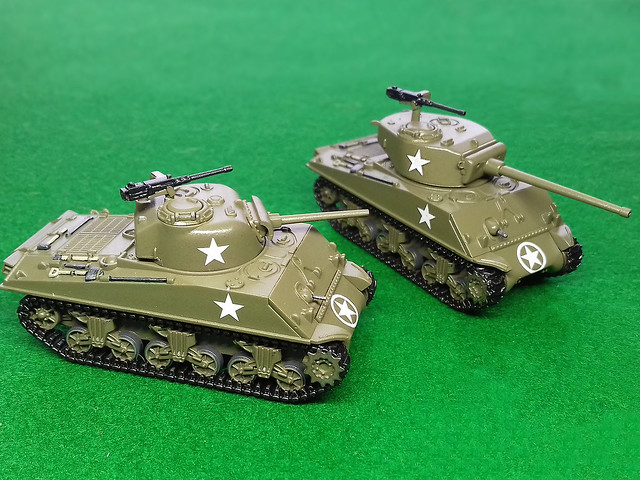
A light squirt of gloss varnish over the decals to seal them and that's a job done. The gloss also is the preparatory coat for the next stage which is streaking and staining with oil paints.
Next: The 'weathering' phase...We are getting there!
No comments:
Post a Comment