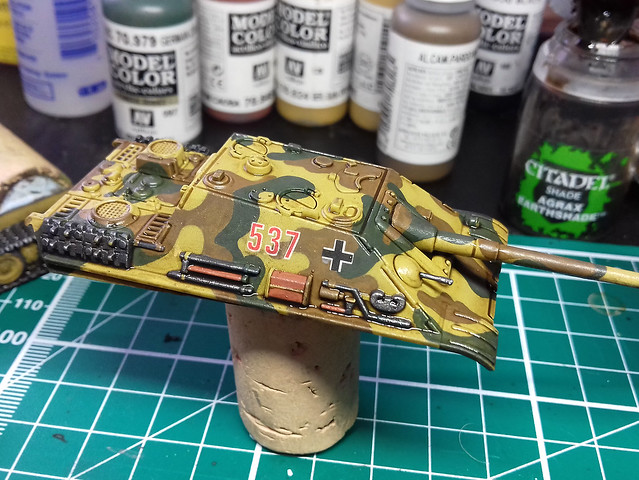
With all the base colours done it's time to apply the overall wash to the model. I'm using Citadel's Agrax Earthshade (again), diluted 50/50 with water...
This replaces, to some degree, the pin-washing technique I normally use (usually after weathering) on larger scale model projects. Though, I will still be applying pin-washing to pick out the most prominent detail (using Vallejo's Dark Brown Wash) as this is a far darker outlining medium.
 |
| The Agrax Earthshade is a medium brown wash and for most detail, this will suffice as a replacement for pin-washing. |
Staining & Streaking?
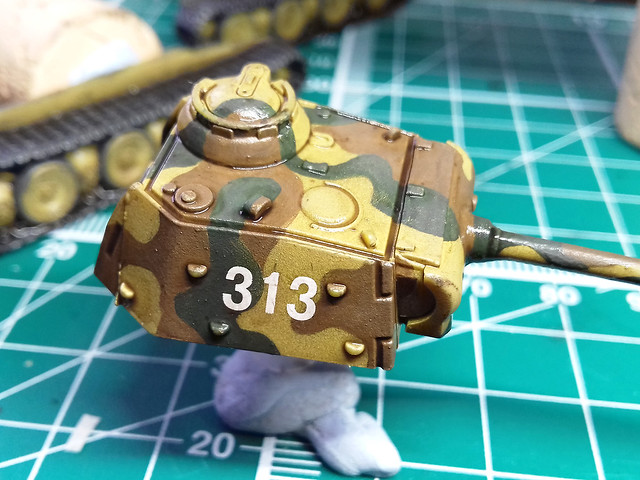
Actually, I'm cutting out this process (where I would apply oil paint dabs and streak them) and I am using eyeshadow powders to achieve a similar, though softer, effect. This is another change in technique due to the scale of the model.
While my usual weathering effects can still look quite nice when taking closeup photos of the models I think they may be a little bit of over-kill as these small models are meant to be seen at arm's distance on a tabletop. So, I am starting to use broader, less focused weathering effects for my 1/100 gaming models.
Far Too Shiny and Chrome!
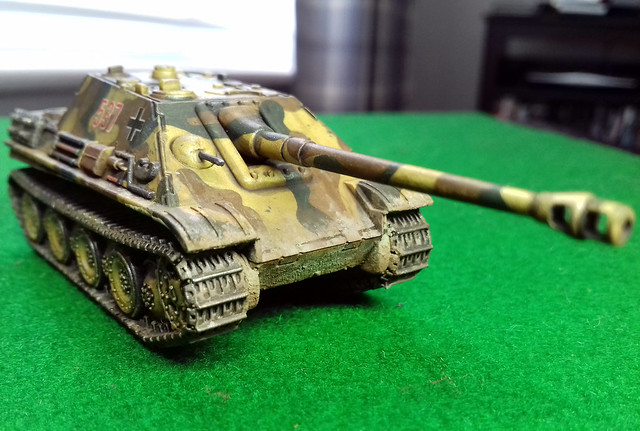
With the upper hull of both versons of the Panther done, I turn my attention to the lower hull and tracks. At the moment the tracks are far too clean and shiny. As with the upper surfaces, I am looking to a more 'cosmetic' medium to apply the effects I want.
Tracks are definitely a part of my tank models that I still have the biggest problem with. I haven't devised a satisfactory 'recipe' for painting and weathering them to a point that I am happy with the result. My previous results have all been a bit hit and miss.
So, let's have another go...
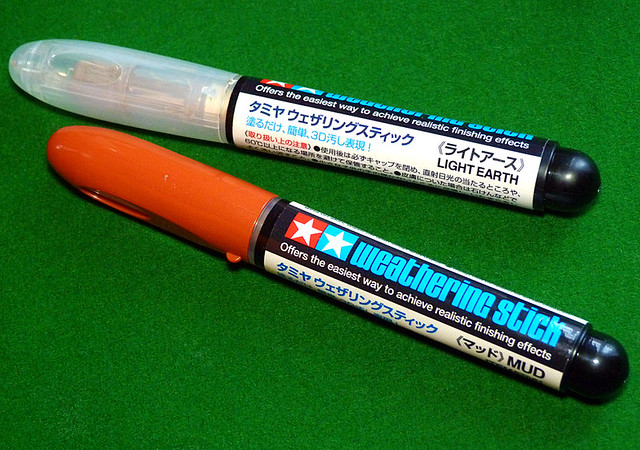
The medium I have picked to weather my tracks are Tamiya's Weathering Sticks (Light Earth and Mud). Nothing new that I haven't used before BUT I recently discovered that these cosmetic type sticks can actually be mixed with water to produce a creamy paste.
I used this technique On my 1/100 Stuart model and although I didn't quite get it right, I like how this cream approach was slightly more controllable than the powder method (with pigments) that I have been using. So, let's have a test on the bottom of the tank's chassis...
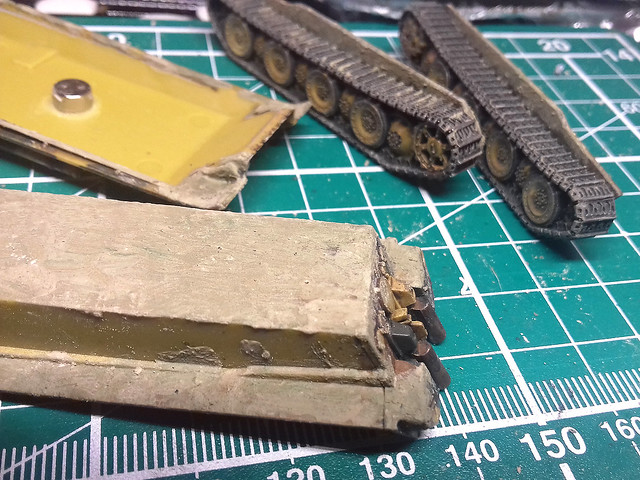
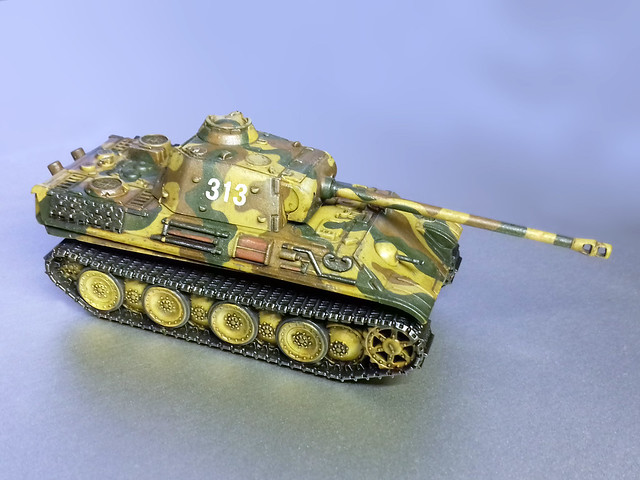
Because I wanted to add so much mud to the chassis I started by adding a thin coat of pigment mixture to give some texture, then applied the weathering stick medium over this. This saved on weathering stick and gave a mottled multinational mud effect.
So, in effect the pigments provide coverage and a base with the weathering stick medium softening the edges of where the mud ends. I haven't mastered this technique yet, and I've overdone the effect a little on this model (too much mud) but I'll go easier the next time. However, I am happier with this method than I am with the all-pigment method I used on my 1/100 Shermans where the mud was far too thick...
 |
| Pigments on the bottom, merging into Tamiya Weathering Stick medium on the front-upper hull for a softer transition. |
Nearly, but not quite, happy with the result...Yet!
Next: Protective varnish and completion photos.
Wow
ReplyDeleteThis level of detail is incredible on 15mm
Respect! Hombre. Respect!