The Painting Process
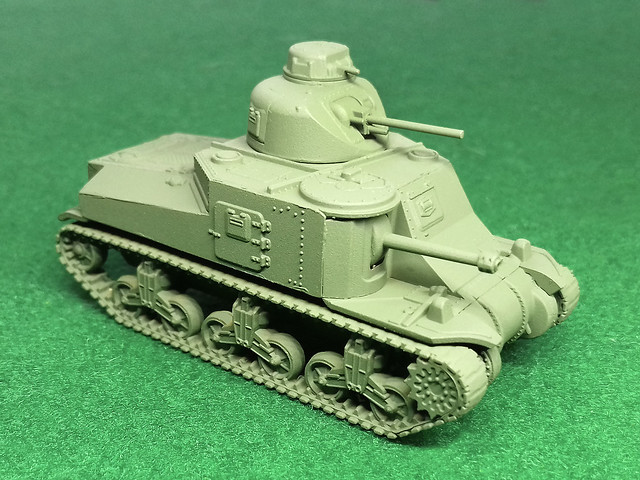
Onto my usual painting regime now; priming, base coating, (decaling), wash, staining/streaking, pin-wash outlining and then varnishing. Priming will be done using Humbrol's [86] Light Olive Matt - Acrylic Spray Paint, this should give a slightly faded US Olive Drab suitable for the Pacific theatre.
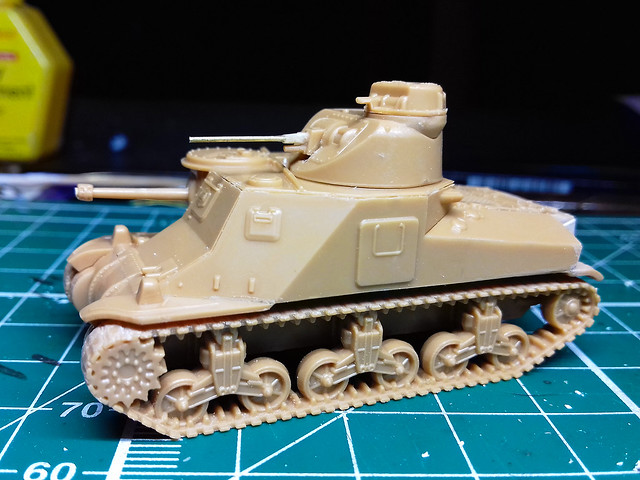
Amusing note: You'll probably be thinking 'that 37mm looks thicker than it did in the last picture'. And you'd be right, I broke off my first attempt at 'improving' the barrel! So, I had to have another go and this time I drilled right into the turret and superglued in a thicker brass rod. LOL
Decal Scheme
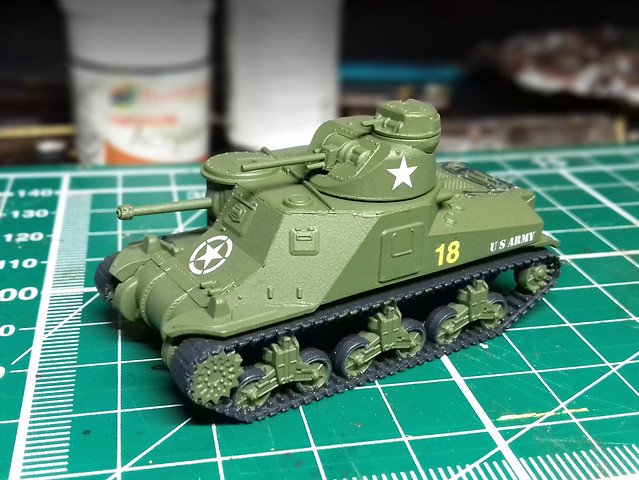
Because this model is for a game and will be used in a few different scenarios representing completely different WW2 combat theatres, I am using a little artistic licence with the decals in order to create a generic representation of 'a' M3 Lee tank in US Army service. The scheme is fictional...
Wash, Weathering & Mud
I'm going to try and go easy with the weathering and particularly with the amount of mud I will be applying this time. I was quite pleased with Tamiya's Weathering Sticks - which I used on my last 1/100 model - as I like this softer, more blendable medium. (Apparently, Tamiya's Sticks are just normal weathering powder pigments but mixed with a sort of cream or oil preparation. This makes them into something akin to cosmetic creams, like cheek blusher crème...Not that I'm an expert on lady's make-up you understand!)
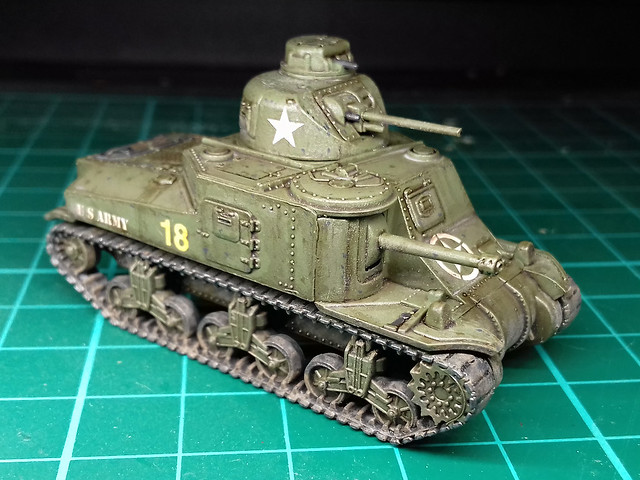
But, before I start the weathering, I'll be applying what has become my 'usual' pre-weathering preparation of a wash of Citadel's Agrax Earthshade...

I'd like to try and go for dusty rather than overly muddy this time. I've never really mastered realistic dust and I'm thinking that I might play with eyeshadow powders and maybe some pigments (but added 'dry' onto the surface)...
The eyeshadow powder is a little bit granular compared to Tamiya's Master Weathering kit and their Weathering Sticks. I prefer the cream mediums a little better as the blend really well, creating a nice smooth - non-gritty - pigment film over the surface.
I added a little pin-washing effect with more Agrax Earthshade carefully painted into the panel lines and then finished off with some very fine line work using black ink for deep lines and the edges of doors and armoured windows and hatches.
And that's that for now, the tracks need some more attention before I finish this model off with a coat of matt varnish.
Lovely paint job - puts mine to shame. I have an infallible process for realistic dust that involves leaving the model on an open shelf for five years. :-)
ReplyDeleteChris Kemp