Now, there is an alternative path when doing pre-shading. Instead of priming black and airbrushing highlight areas in white you could prime in white and airbrush panel edges and shadow areas in black. To be honest I don't quite know which method is best...Take your pick (the effect looks similar).
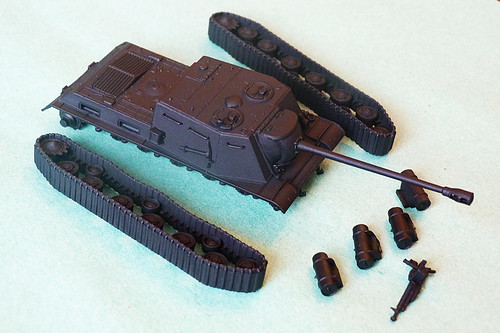
To illustrate, here is an example which was done by 'Mr Dyzio' from the Dyzio Scale Models blog. Can you tell which of the two methods mentioned above he has used?
 |
| Mr Dyzio's Trumpeter IS-3 pre-shading stage |
Is it worth it?
Good question, dear reader! If you are a war gamer with a whole tank squadron to paint by tomorrow, well no. But if you are a display modeller trying to squeeze out a nice tonal variation in your top coat, then yes...
It's worth mentioning a half-way house alternative though. I have seen a war game model painter who does a 'poor man's pre-shading' method - he primes black, but then misses out the white highlight and instead airbrushed his green top coat on in varying degrees of thickness to achieve a dark/light variation in tone.
I guess the disadvantage of this 'poor man's' method might be that to get this tonal effect you have to spray the top green coat on a bit thinner than normal, so the effect is a slightly darker green top coat in the end. Still, I will be testing out this method when I do my companion ISU-152 and will compare the effects.
A final word on whether it is worth the bother. I think that this method is really best suited to 1/35 scale models and above where you have plenty of room on the model's panels to go to town with tonal variation. Take a look at this 1/35 ISU-152 by Yvan Garnier...
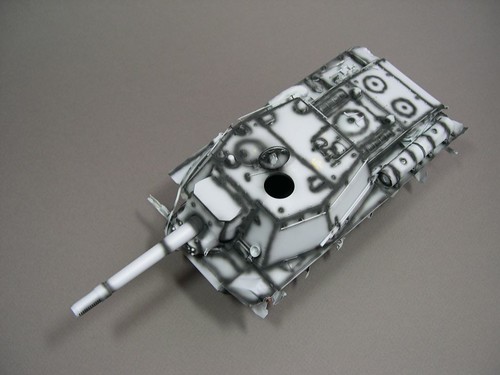
Because the model is bigger Yvan has been able to carefully and precisely pick out all panel surfaces with pre-shading (he uses the black on white method by the way). To understand how this effect works once the top coat of green has been applied here is a perfect example...

You can see how pre-shading has resulted in this nice tonal variation where the highlighted areas at the middle of panels becomes a darker shadow area towards the edges of the panels. The effect creates a 3-dimensional look.
Recreating this in 1/72 is harder, but not impossible. However, for a beginner like myself it will be a challenge as I have not used an airbrush before. Let's see how I get on!
No comments:
Post a Comment