 |
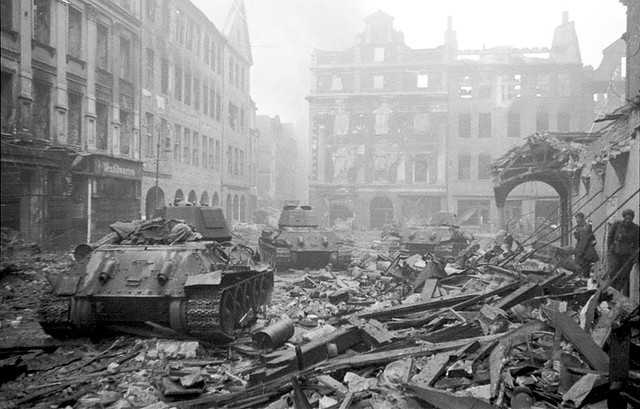
| ISU-122s roll into the German capital. |
Wouldn't it be nice to try out some sort of diorama? Well, as this is a war weary ISU the obvious environment for it might be a Battle of Berlin vignette.
Really, all I want to do is practice some scenic techniques, I don't really want to get too hung up on authenticity - that will come later. But in any case it's always nice to start with some sort of reference material to get a feel for the subject...
Hmmm, well obviously the key aspect to this mini-project will be rubble, and lots of it! But before that I will have to construct my 'street' - well, more of a theatrical backdrop really. Luckily for me my local model railway shop has a bargain bucket full of random HO/OO plasticard texture sheets, so I picked up some cobbled and paving sections...
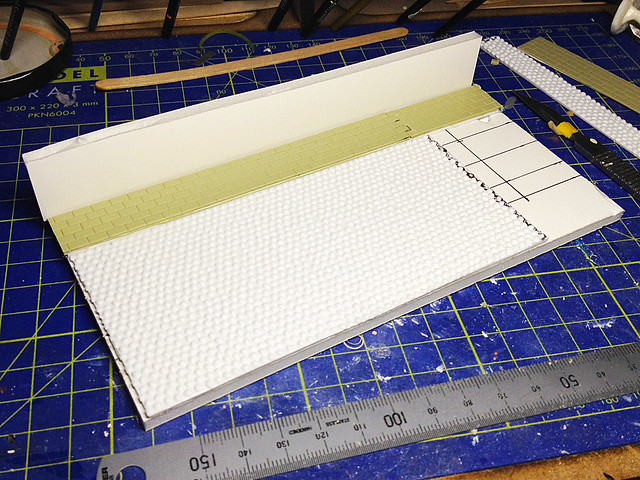
Now, as mentioned, I am not going to be a stickler for historical authenticity here. I know these aren't the correct cobblestones and I'm not putting in pavement-side drainage grills or manhole covers (and I'm certainly not researching what types of street furniture existed in Berlin during WW2). I just want a street that looks roughly like those in the reference photos above.
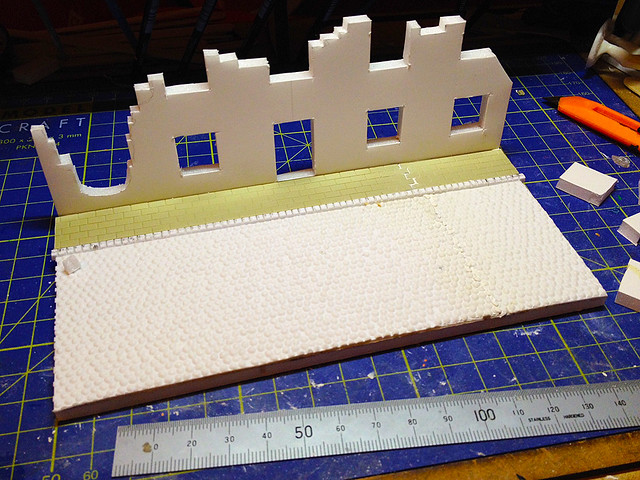
So, now I have my road and pavement I need to think about the building facade which will form the backdrop of my vignette. A very quick sketch is what's needed...
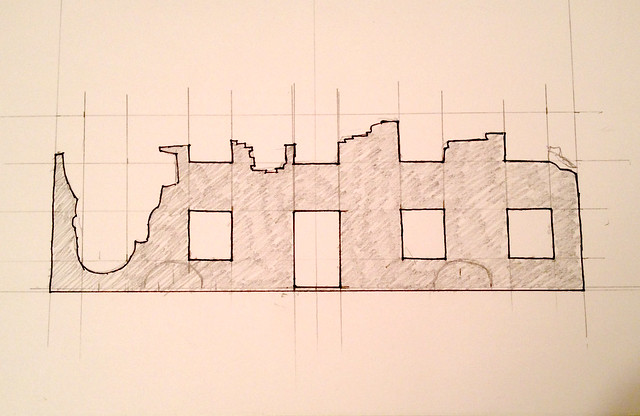
I am cutting this out of that foam-backed cardboard and I'm not thinking too much about ornamentation at this point. I will add the pretty bits in an ad-hoc way later. Let's get cutting!
Rubble...
Obviously a lot of both the street and the facade will be covered in rubble so it's time to put some thought into how to make scale 'rubble'. An idea...What if I squeeze out a big blob of Pollyfilla quick dry plaster into a flat tray and allow it to dry - I could then crumble up the plaster to make simulated rubble. What do you think?
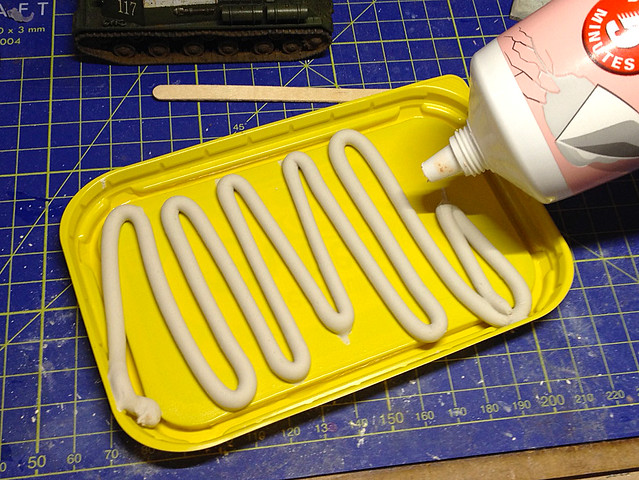
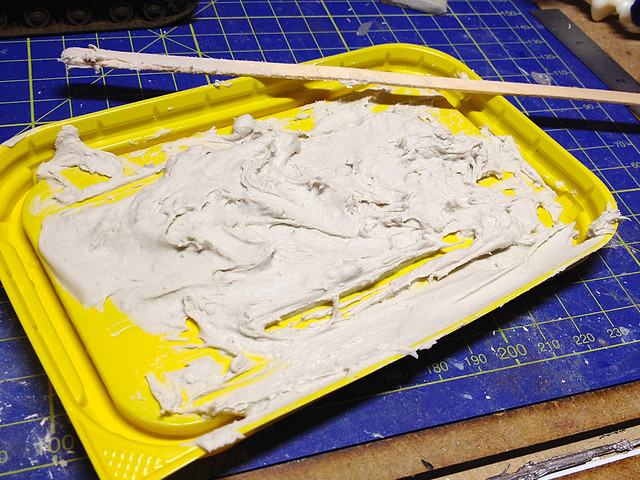
I used an old margarine tub lid and spread some of the Pollyfilla into the groves around the lid to see if I could mould some interesting shapes that might look like sections of felled concrete (just an idea). When dry the Pollyfilla should pop out the lid if I bend it, I can then break it up into big lumps and smaller rubble and also grind up some of it to make small stones and dust.
OK, I'll leave things there. In part two of this project I will start to add the detail to the building facade and crunch up my make-shift detritus. But so far so good.

Looking forward to see how this turns out. Maybe I'll use some of these tips to make a Stalingrad or Arnhem vignette myself!
ReplyDeleteFF
Looking excellent so far!
ReplyDelete