To recap - my Soviet tank destroyer was undertaken to practise some finishing and weathering techniques. At this point I needed to add some identification stripes to my tank, but these needed to look hastily applied and hand painted.
As far as I have been able to find out the late war Soviet ID stripes were quickly daubed on in the field, probably with white wash...
 |
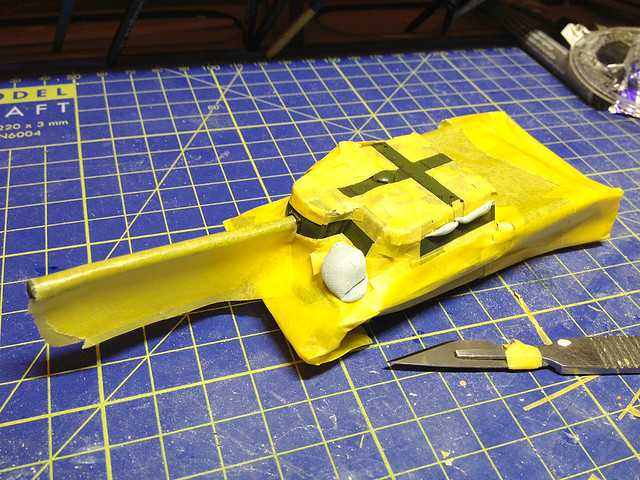
| The first step in applying Soviet ariel reconition stripes is to mark out the outline of these stripes using thin strips of making tape. These are just guides for adding the actual painting mask itself. |
Stephen Hamiliton’s (2008.25) ‘Bloody Streets: The Soviet Assault on Berlin’ where, citing a ShAEF report dated 21/04/45, he states:
‘Still believing they [the Soviets] would run into U.S. or British units along the way [to Berlin], Stavka agreed with Eisenhower that Soviet tanks should be painted with a white stripe around the turret and a white cross on the top. It has been suggested that this stripe was designed for recognition of Soviet tanks and SP guns during the street fighting in Berlin, but in reality [Hamilton proposes] it was to differentiate their vehicles from the Western Allies. Studies of late war photos of Russian armour depict no vehicles outside of the fighting for Berlin carrying the white stripe. By the end of April the Soviet tank recognition marking changed from the white stripe to a small triangle on the turret. This change was caused by Gertman Panzers in the 9. Armee painting their tanks with the Soviet recognition stripes in an attempt to fool the Soviets during their breakout West. Again, a study of late war Soviet photos show the small triangle marking on vehicles involved in the Berlin fighting but nowhere else.’
So, how to paint the recognition stripes? To start with I laid down some guides using thin strips of making take (see above) and then masked off the rest of the tank, then removed the guide tape...
Now, this is where things got tricky. I decided to try out the hairspray technique again - I used this with some success on my SU-122M conversion. So the next stage was to spray on a layer of hairspray, let that dry and then spray over a layer of white paint.
The idea is that you can then easily distress the white layer using water, scraping off small spots of paint to reveal the green paint underneath...

Unfortunately, I overdid the hairspray - applying too thick a layer - and the white paint started to come off in large flakes. Oooops! (I reckon one light layer of hairspray is all you need.)
I had to do some remedial painting with white acrylic, which was a bit of a shame - however, and luckily, because the final effect was supposed to look slap-dash I *think* my dodgy painting will just past muster.
Next: Another layer of gloss and then some final weathering, distressing and chipping.
good line ;)
ReplyDelete