 |
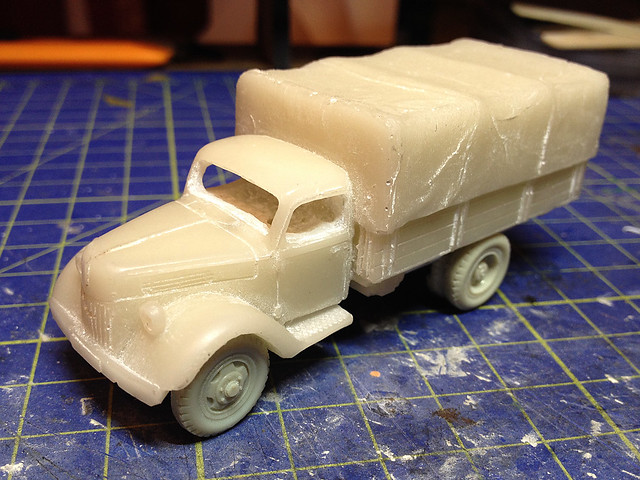
| My 'Quick resin V3000' was a cheat with only the top half the cab drilled out. Could I do any better this time? |
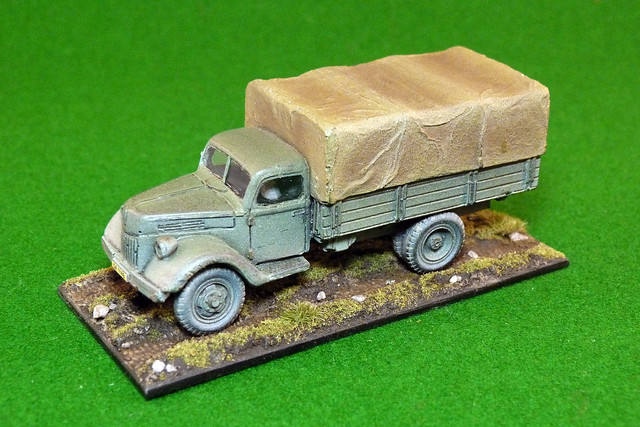
One of my readers suggested that I could improve the conversion - the next time - by excavating the whole of the cab by drilling in through the bottom of the model. So this is what I decided to try out with this 'Chevy' conversion of the Valiant model.
First I drilled a few pilot holes in through the front windscreen to mark the 'top' of the cab so that when I drilled in via the bottom of the cab I didn't drill straight up and through the roof! Then I marked out a 'safe zone' on the underside of the cab, the extent of the cab interior I intended to drill out...
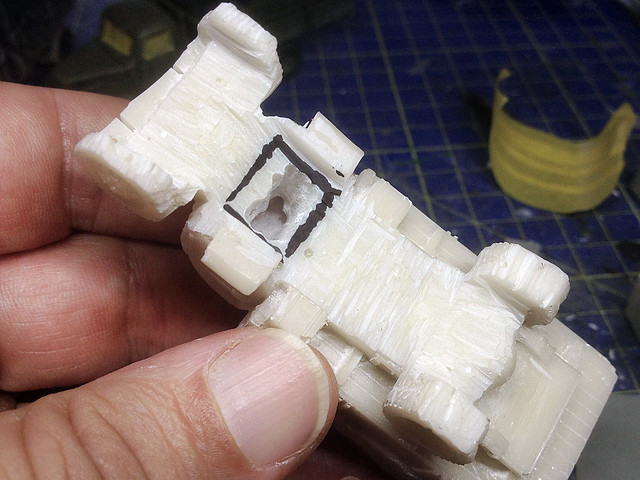
I had to be very, very careful when using my Dremmel, so I started drilling out a hole from the centre of the cab outwards towards where I wanted the walls of the cab interior to be. All the time keeping an eye on where the drill was coming out using the pilot holes I had drilled to mark the roof of the cab.
Once I had drilled out the interior as close to the walls of the cab that I dared I changed from a drill bit in my Dremmel to a reaming bit (a small rotating cutting tool that cuts horizontally) to slowly shave the thickness of the walls down until I was happy. I also used the reaming tool to tidy and square up the hole I had drilled out.
I then used a craft knife and files to precisely finish off the interior and make sure the cab windows were neatly shaped...
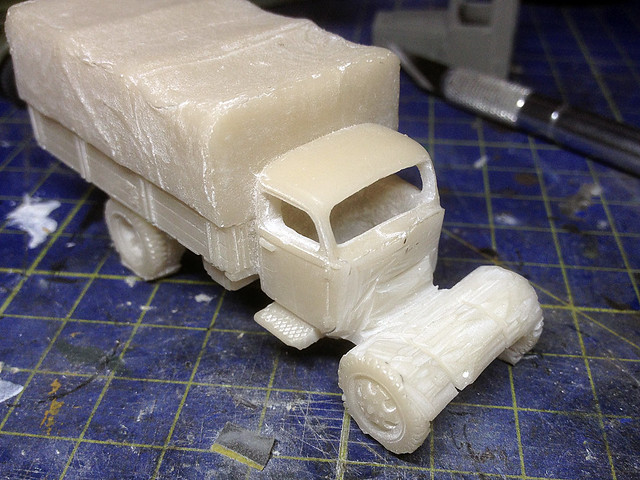
Obviously this still isn't perfect, the cab walls are still a little on the thick side but I didn't want to risk accidentally drilling right through a door or something so erred on the side of safety. But I reckon this won't look so bad once the interior is painted and I fit the windows.
To finish off the cab interior I will - of course - have to add a new cab floor, with a seat and a driver in place. But I am quite happy as this was - I hope - the worst bit of the job, everything else should be plain sailing!
Next: The cab interior.
No comments:
Post a Comment