My initial experiments with Plasti-kote's Brilliant Metallic spray paint convinced me there was a certain merit to the paint. Unfortunately the subject that I used for the tests was a rather cheap and nasty toy plane, the surfaces of which prevented me from getting a clear idea about just how smooth the Plasti-kote could be applied. So I decided a second test was warranted.
I wanted to use a proper injection-moulded plastic kit as the guinea pig this time, but - of course - still didn't want to go to the bother and expense of using one with which I has some sort of emotional or financial investment. I wanted something cheap and cheerful that I wouldn't be too concerned about if something went wrong.
 |
| Not the scheme included in the Revell kit instructions I'm afraid, but the only colour reference
I could find of a P-47 of the US 9th Air Force. Picture source: Wings Pallette.
|
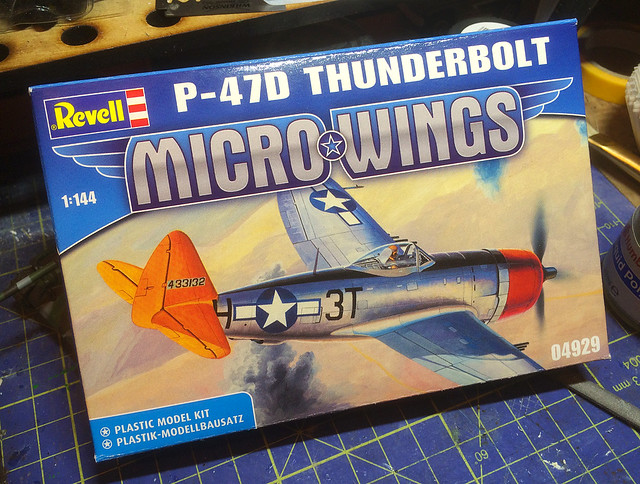
I picked out one particular model which had a bare-metal scheme, the Republic P-47 Thunderbolt or 'Jug' as it was nicknamed by it's pilots. (Not a mirror-finish, I know, but it was the closest they did.)

I enjoyed making the two 'micro-scale' scale aircraft I have done already - an Eduard Me109 and a Tamiya IL-28 Beagle - so I was curious to see just what kind of quality the Revell 'Micro-Wings' kits could be. To be honest, for a quid I wasn't expecting much!
Left: The contents of the 1/144 Revell P-47 kit. Just one main sprue with 16 parts. Not a complex build then! Picture credit: www.ipmsdeutschland.de/ (As I forgot to take a snap of before I cracked on with construction!)
I believe these mini-kits are aimed at the younger modeller/collector as they are quite simplified. The exterior detail is cursory and there is no interior detail at all - no cockpit, no seat and no pilot. Still that was ideal for my purposes, simpler the better.
By default Revell guides you towards building the aircraft with the undercarriage down and yet supplies you with an ‘in flight’ stand. I wanted to model this fighter ‘in flight’ so the stand is handy but that does mean you will have to modify the under-carriage (more on that later).
 |
| And that is all there is to it! |
There is just one set of decals and one associated colour scheme (printed on the front of the box). The monochrome printed instructions advise you on the specifics of this scheme and decal layout. Again, this is sort of irrelevant to me as this will be a quick build and I’m not bothered about representing a specific type or unit.
Construction - the nitty (and very) gritty
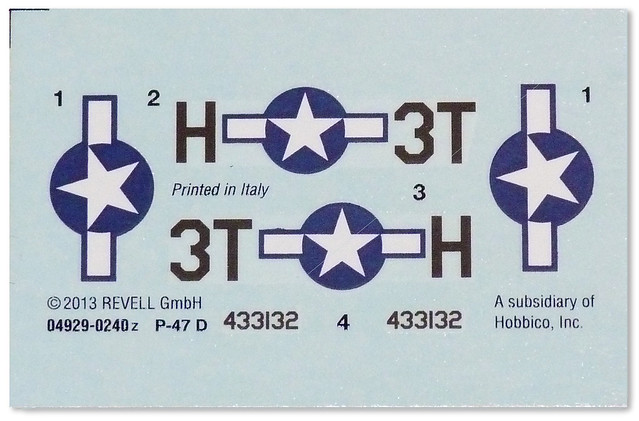 |
| P-47D-30-RA, “3T-H”, 22nd Fighter Squadron - 36th Fighter Group, 9th US Air Force, 1944 |
I could tell - even while still on the sprue - that the quality of the moulding was ‘vague’. There was some flash and - unfortunately - a few ‘sink holes’ generated by the moulding process. I immediately acknowledged - much to my chagrin - that there would have to be some filling.
I know this is just an experimental project and build quality is of secondary importance, but I just can’t bring myself to bodge together a rickety and sloppy model.
 |
| The dirty fuselage is a result of spraying the interior black, in case I use the canopy as is. |
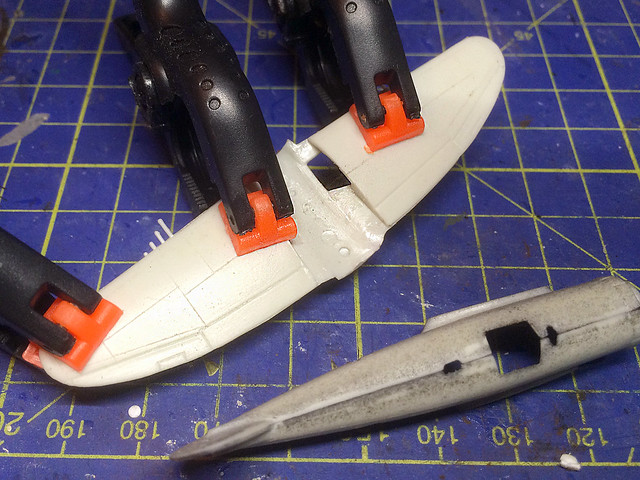
Anyway, on with the building. Fuselage and wing sections needed clamping to encourage a successfully mating of the various halves, but there was a tiny bit of overlap on either sets of components. Nothing some sanding couldn’t rectify but on the fuselage the central seam would need some filling and sanding to try and produce a seamless join.
The next glaring fit related issue was when I moved on to join the wing section to the fuselage. There was a obvious gap at the wing roots and underneath which would also need some filler putty. (I kept reminding myself that this was suppose to be a ‘quick build’!)
However, there are not many external parts, just a couple of bombs and a central drop tank and they are all one-piece components. But, unfortunately the flimsy .50 cal machine-guns became a victim of my rough treatment and very soon broke off, so I quickly replaced them by drilling some holes and popping in some replacement brass rods.
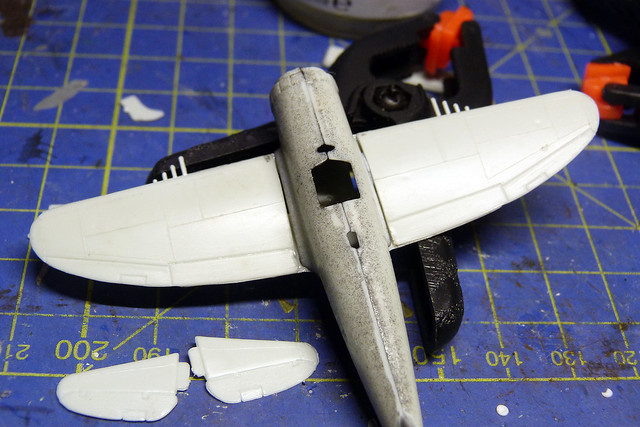
The next major issue was - as noted before - the fact that I wanted the undercarriage up. I first of all tried fitting the supplied landing gear and gear doors in the ‘up’ position but found the fit left a lot to be desired…
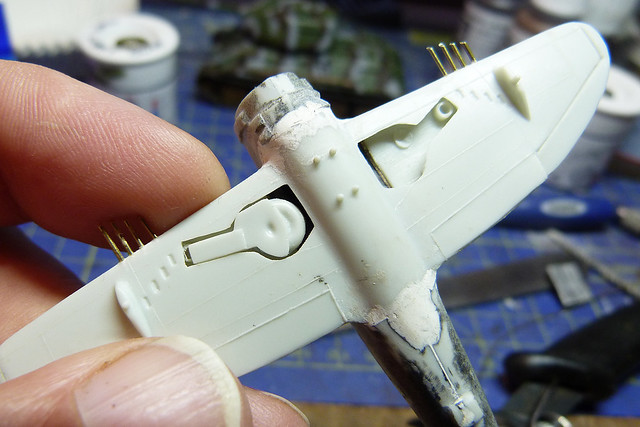
I managed to make the gear doors fit (after a little filling) but the landing gear had to be scrapped and instead I filled the vacant holes with some Milliput putty, fashioned roughly into shape. Once completely dry I would sand these rudimentary landing gear covers flush with the wings.
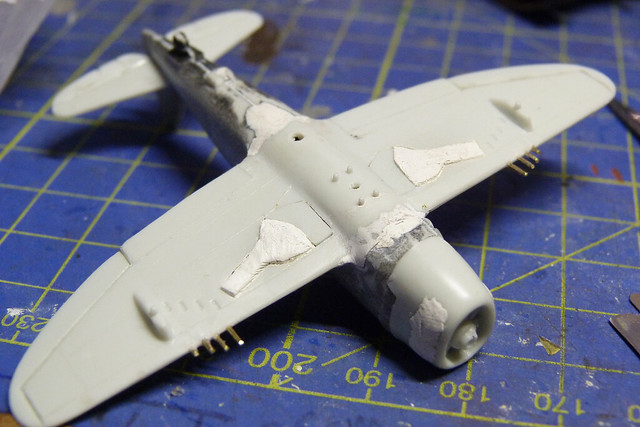
Finally, there was the fitting of the distinctive engine cowl. This big oval cover, sadly, suffered from some sink holes on either side which had to be filled and smoothed out.
I decided to fit this in place and paint it BEFORE fitting the prop (the instructions suggest fitting the prop to the cowl and fixing it in place by gluing on a plastic collar so that the prop would spin freely). I don’t mind the prop not spinning and it would make painting the engine and prop easier if I fit this after fitting the cowl.

At this point - were I a rivet-counting aircraft geek - I would point out the very shoddy job that has been done with the shape of the prop. It was also sightly deformed, but there again am I bothered?
So, that was the major construction completed and the various ill-fitting seams and sink holes filled and sanded…

Now, onto the actual painting and the scary Plasti-kote application…Gulp!
See you in part 2 of this post (or if it never appears you will know that the Plasti-kote spraying was a disaster!)
No comments:
Post a Comment