
I masked out the cockpit with BluTack and stuck a cocktail stick into the prop shaft - held in place with more BluTack - to give me a convenient 'handle' for spraying.
You can also see my patented 'KitNoob all-purpose model clamp' which is simply a kitchen sponge split down the middle so it opens up to gently grip the model...

I pushed blobs of BluTack into the painted landing gear wells to mask them and I checked over the underside of the model for any blemishes or dinks that will show up after priming.
I really like the priming stage, though it is a moment of truth - did you really sand all the seams flush and was your filling good enough? There is nothing that makes me happier than a nice clean primed model - a good canvas increases the chances of a good painting job (I hope)!
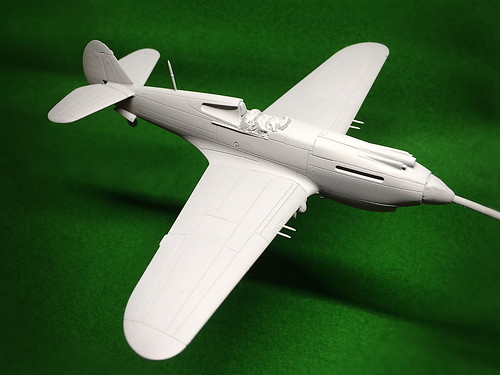 |
| Primed and ready to go! |
My Revell 'Starter Airbrush' is good quality but isn't a brush capable of 'fine' spraying - the spray is what I would describe as a medium size (I understand this is dictated by the size of the needle in the airbrush). Good enough for most general jobs but not up to the task of very small jobs - certainly the fine lines I want to spray on for pre-shading might be beyond it's ability. So, sadly, I will leave off pre-shading panel-lines until I have an airbrush capable of spraying a line of a couple of millimetres in width.
Right, onwards and upwards. The RAF scheme for 'Early War' - as given in my Hataka paint set - is as follows:
• Dark Earth — Used for upper surfaces in RAF camouflage schemes until 1941
• Dark Green – Used for upper surfaces in RAF camouflage schemes throughout the war
• Sky 'Type S' — Used for lower surfaces of RAF aircraft until 1941
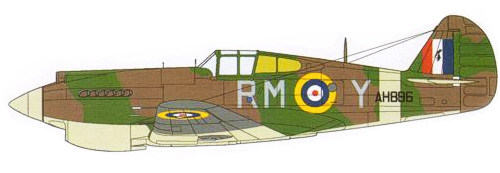 |
| AML's scheme for an example of a Tomahawk IIA of 26 Squadron, England, 1941 Note: The medium grey on the underside wing is actually black! |
There is a band of the 'Sky' colour which wraps around the fuselage so I will include this in masking the spray that as well (rather than over-spraying the upper-side camo). However, before that I noticed that the cockpit's rear windows are painted with the 'interior green' so I will have to remember to give those a splash of paint as well.
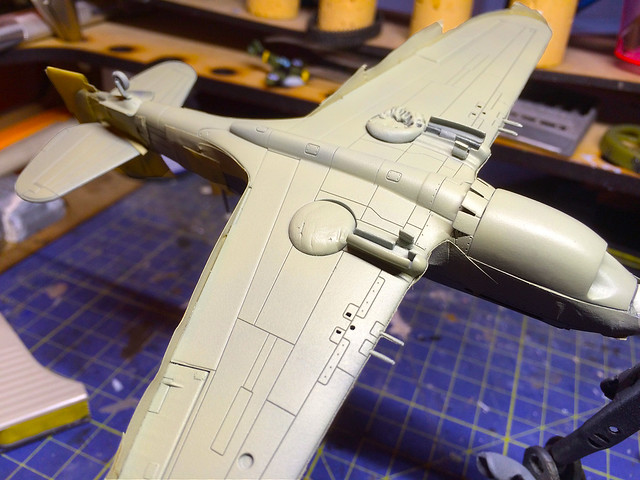
Sky 'Type S' is a funny colour. When you say 'sky' you think of a light-blue but 'Type S' is actually a greeny hue if anything. The Hataka colour seems spot on but I am less happy about the consistency of the paint.
This is the most Hataka paint I have used - the first real job I've done with it in fact - and I had a couple of problems getting it to play nicely with my airbrush. The first issue was just how much I should dilute it with thinners and still get an opaque coverage (even after a couple of passes with the air brush). The second issue was how quickly the Hataka paint dried.
For the very first time I was finding that the paint in my airbrush was drying inside the airbrush and thus causing blockages. This may be to do with the dilution mix - perhaps I was using the paint too 'straight'?
I'll finish at this point and do some research on mixing Hataka paints before I move on to the upper fuselage coat of Dark Earth. Hopefully I can find a solution (excuse the pun) to this problem.
No comments:
Post a Comment